Produkt - Ceník
Informace Partnerství Kontakt
Uživatelský manuál - přehled témat
Windows PC (LED panels)
1. Download the Windows app
Download our Windows application from here.
2. Install the ScreenManager App
Install the application on your Windows PC and launch it. The app will start in a fullscreen mode and will display a QR code.

Scan it with your smartphone or follow the link under the code to connect your Windows PC to your ScreenManager account.
3. Pair your screen
Log into your ScreenManager account.
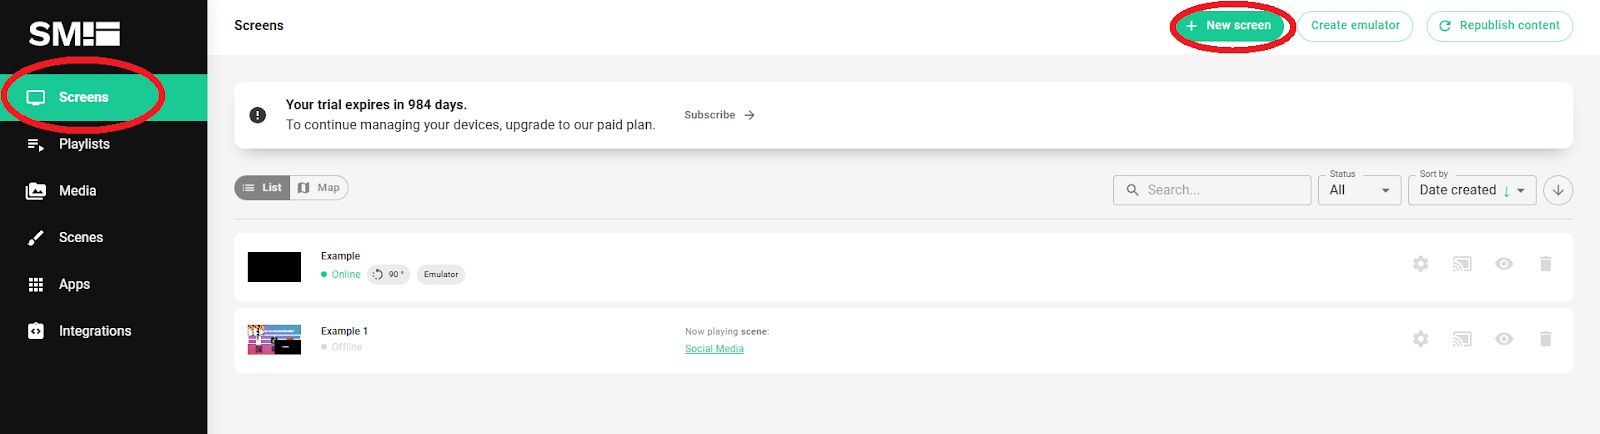
Then go to the Screens1 section and click on the New Screen2 button.
Enter the pairing code3 you see on your Phillips TV and click Pair screen4.

4. Set up your screen
Name your screen and choose its rotation.
Optionally, you may also set up Device groups and set up screen orientation.

You may also enable Full Device Control. Click on Enable to do it immediately or Maybe later to skip.
Full Device Control is recommended if you intend to use the device for digital signage with ScreenManager only .
It locks the device to ScreenManager app only, preventing any unauthorized changes via remote control
You can exit the lock mode by pressing right arrow key 5 times on the remote control and entering pin code 1090.

After that, you may start adding Playlists to your new screen.

Your Windows PC is now connected!
ScreenManager App settings
Right click anywhere on the screen to display ScreenManager application settings.

1 Exit or enter Full screen mode.
When the app is in the window mode, to change its position on the screen, click on the top bar of the screen, hold and drag to move it.

2 Display player (screen) information, like Device ID, type, screen resolution, size and more.

4 Click here to unpair this device (screen).
Unpairing the device will stop it from playing any media previously selected via ScreenManager app and allows you to pair it again.
Do not forget to also delete the screen from the ScreenManager dashboard.
